Wild Accents is a recap of any designs we’ve made where you may have found us in the wild! From nerdy convention creations to fun local events this is where you can see what we did and how we did it.
Fallout - The Game, The TV Show, Etc.
My Steam account says I have the following hours in each respective Fallout game:
Fallout: 73 minutes (I keep dying instantly by radscorpions.)
Fallout 3: 22.9 hours (Played it once.)
Fallout New Vegas: 230.4 hours (My first, my love, re-playable forever.)
Fallout 4: 456.9 hours (Multiple playthroughs, survival mode attempted once.)
Fallout 76: 267.6 hours (I can’t get strong enough but I’ll keep trying).
This should be evidence enough to show my love of the Fallout franchise. It’s darkly humorous and so immersive. I even love the TV show and appreciate knowing that people wanted to keep the lore canonical and give so many little nods to those of us who have been forever fans.
Because of it’s wild current popularity in 2025, I knew a cosplay was in order. I wanted to do Sierra Petrovita, the Nuka Cola obsessed fan that crosses over from Fallout 3 into 4, but her shirt is impossible to find. My partner-in-crime and I decided to just be tourists visiting pre-war Nuka World instead, which allowed me to imagine a world where Nuka World took over with the similar overwhelming presence like D*sneyland.
What other merch would they sell if war hadn’t collapsed it all to ruin?
Nuka Cola Bottles
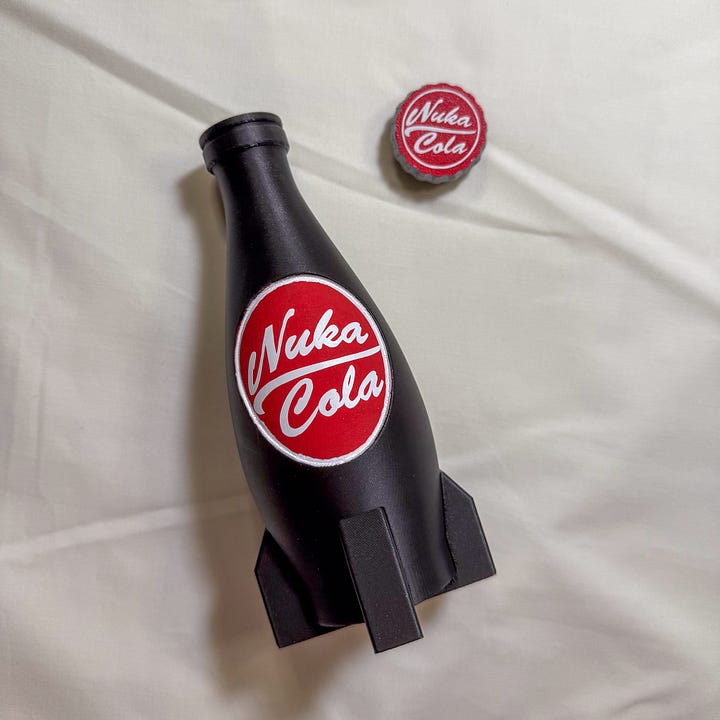
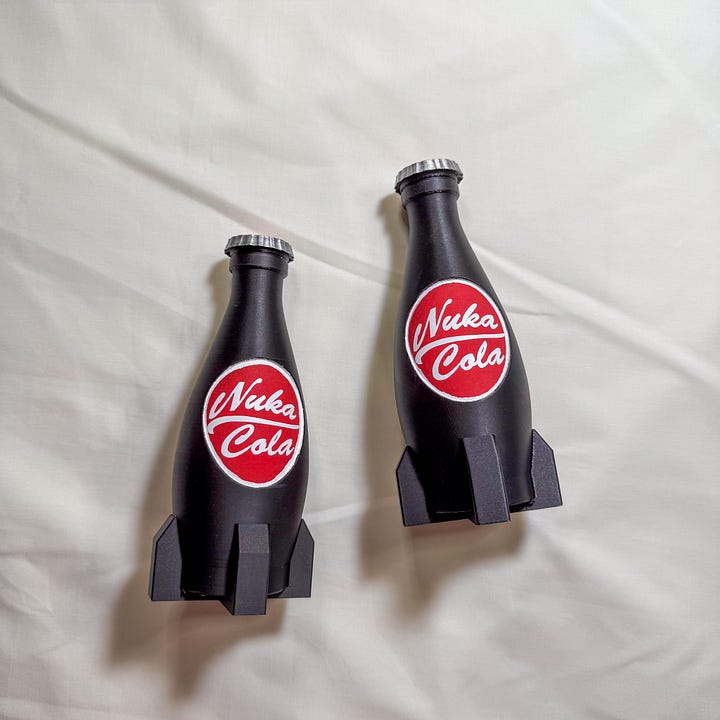
Of course, the first thing I knew we needed were Nuka Cola bottles!
I purchased the “Fallout Nuka-Cola Bottle Replica – PLA Cosplay Prop” from KreatorLLC on Etsy for these. They arrived fast and with a very smooth finish! This is technically for the “Nuka-Dark” cola bottle, but it was the most cost-effective choice for ordering a Nuka Cola-shaped bottle at the time.
The ‘label’ and cap were painted with a combination of acrylic paint and Grabie acrylic paint pens. I found the pens were great to give a base coat as my pen was more of a pink color than the classic red, and then go over it more with the regular acrylic paint. I carefully outlined the oval in white, and printed a Nuka Cola label from this free Fallout SVG bundle on my Cricut Maker. (Side note: I had attempted to print the whole label in red and white vinyl, but found that the tapered curve of the bottle made the label have bubbles and not lay flat.)
Everything was sprayed with a coat of polyurethane to hopefully keep the paint job long-lasting.
Nuka Cola Water Bottles
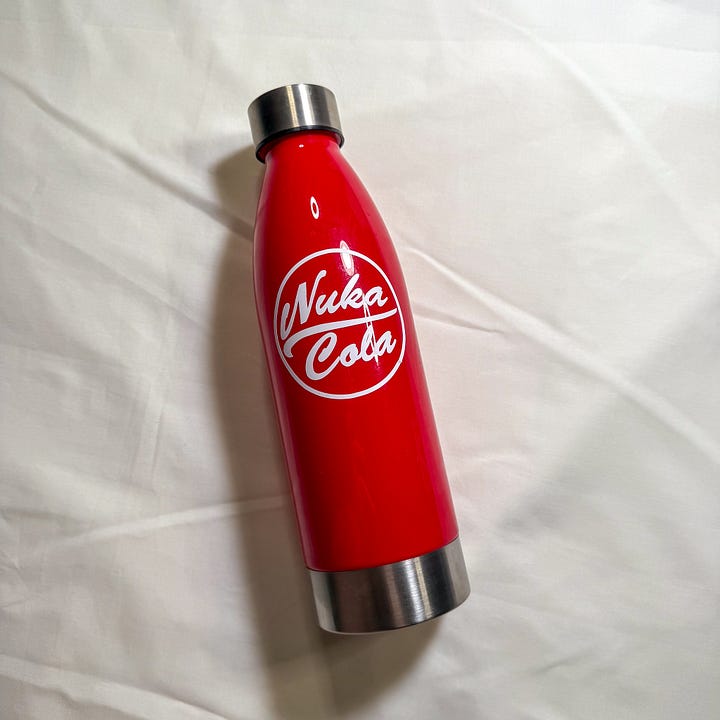
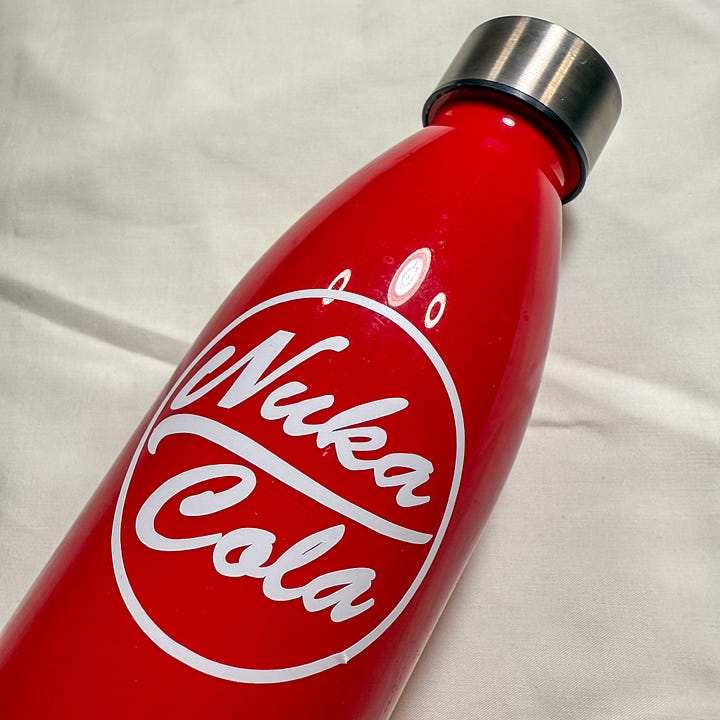
I found these water bottles at my local Goodwill! They are perfectly retro-looking with the chrome top and bottom.
I simply cut out a Nuka Cola label from the free Fallout SVG bundle on my Cricut Maker and slapped it on. There are a few raised points in the vinyl because of the cylindrical shape, but it’s good enough for me.
Nuka World/Cola Keychains
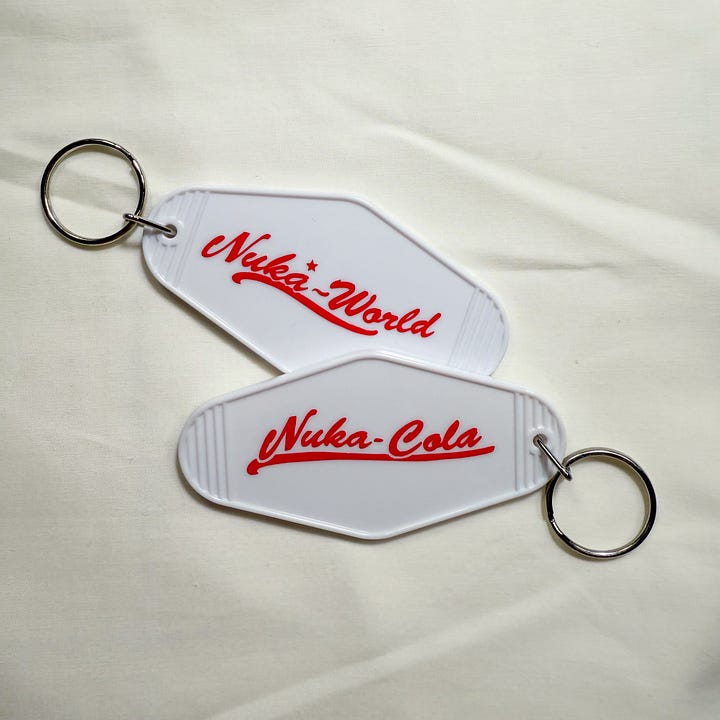
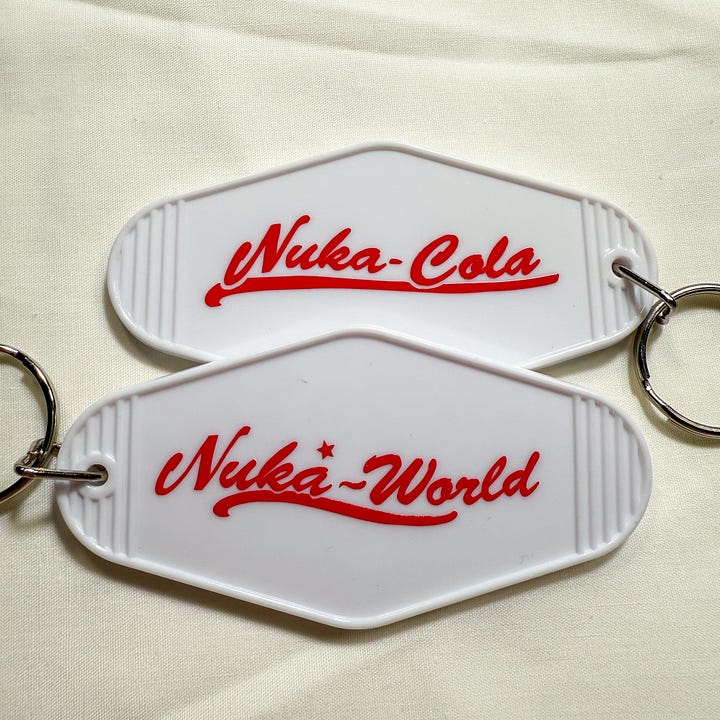
Ah, the commonly collected keychain. Most of mine are destined to end up in a drawer or a box rather then attached to my keys. But our tourist-selves would want to show off their love of all things Nuka in as many places as possible!
The keychain blanks are from Hobby Lobby and I used regular vinyl to cut out the vectors. The Nuka Cola vector is from this free Fallout SVG bundle and Wikimedia Commons has a great PNG of the Nuka World logo. They got sprayed with polyurethane and I am very impressed by how professional these look and feel. The poly really sealed everything in and it looks shiny and wonderful!
Nuka World Pennant Flags
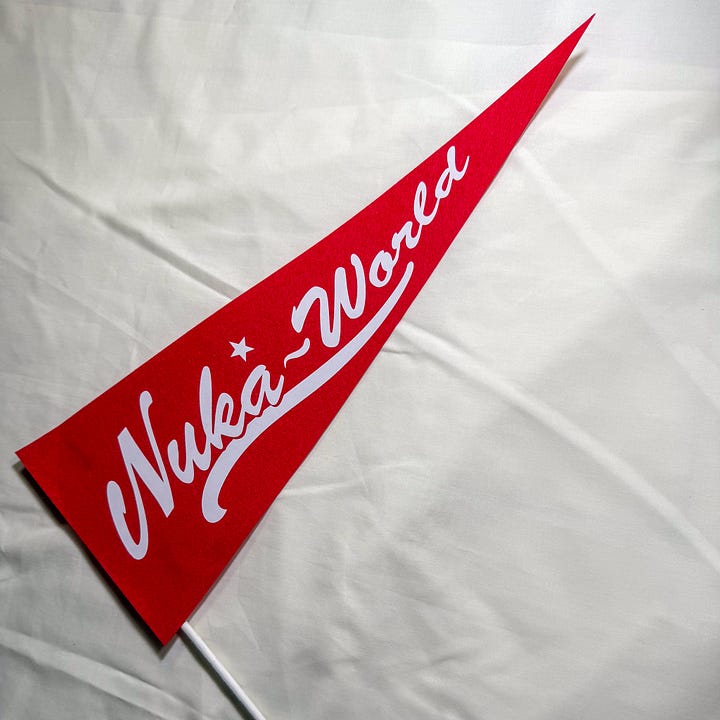
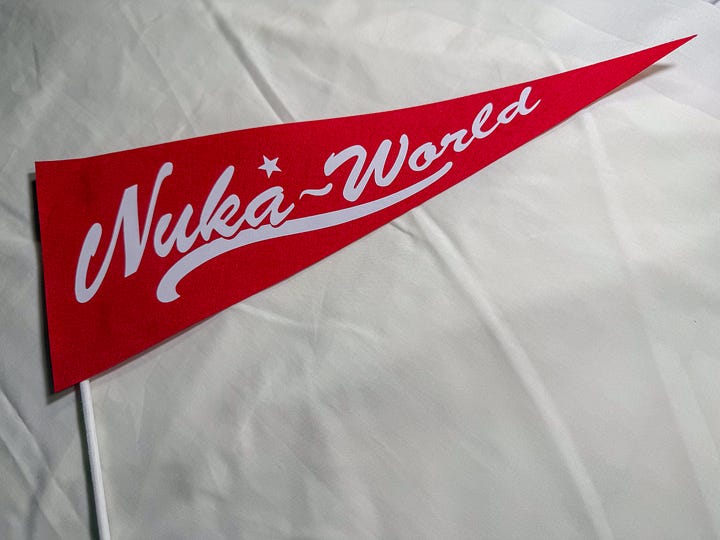
When imagining what Nuka World would have been like akin to the big D, I recalled the retro old pennant flags that people would hang on their wall. This seemed like the perfect thing to add sticking out of bag, or holding and waving it around like a loveable doofus.
This project made me finally commit to buying 12x24” Cricut mats since the flag is 15” long. I purchased one sheet of stiffened red felt from Hobby Lobby and had my Cricut cut out the felt into the two triangle shapes. I printed my vector of the Nuka World logo on heat transfer vinyl and pressed it onto the felt with my heat press. I painted a craft dowel white and attached it to the back with more felt and liquid super glue which I found out has a thermodynamic reaction to felt! Fun, but effective.
Cappy Glasses
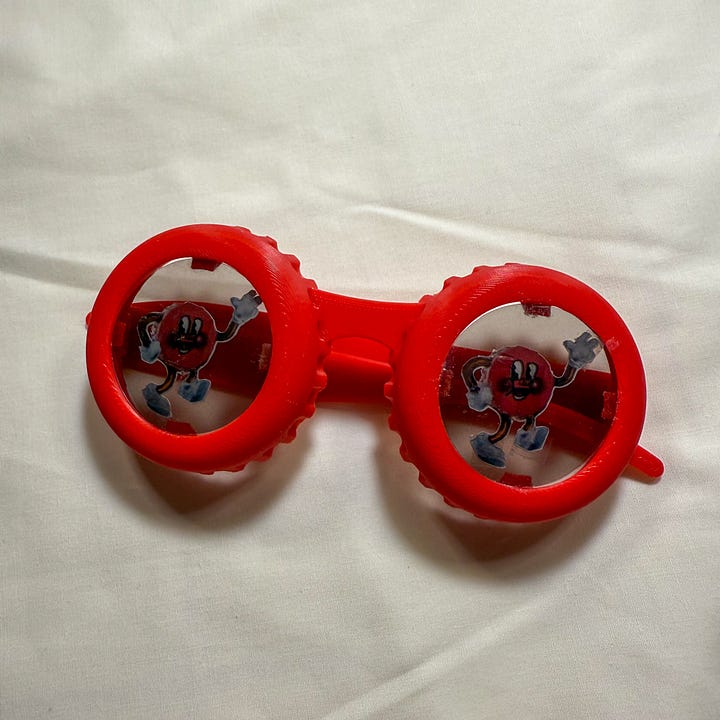
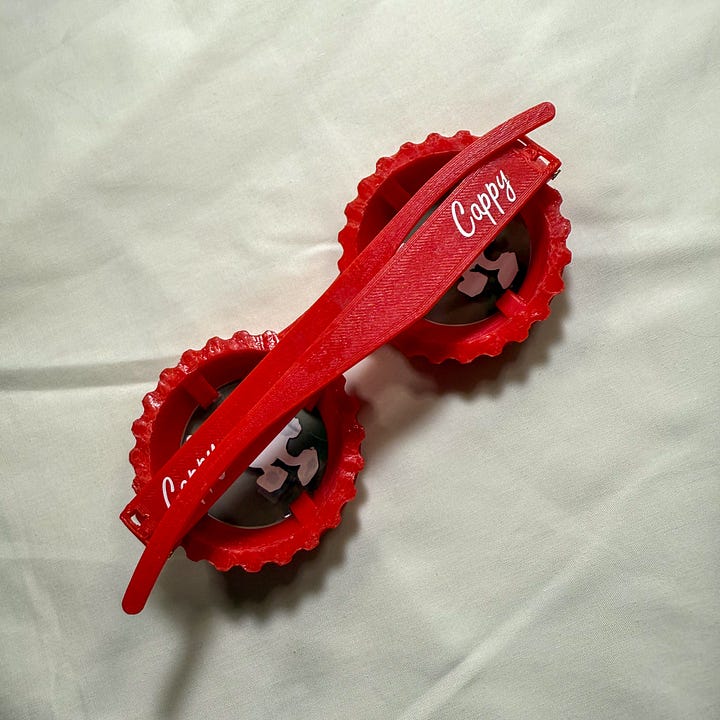
Even though I abandoned poor Sierra, I knew I still wanted the quintessential Cappy Glasses from Nuka World. They’re iconic for the fun scavenger hunt in the amusement park that I of course had to look up all the answers to when I couldn’t find all of the hidden images.
I learned my local library offers 3D printing services and all you have to pay is $0.10 per gram of material! What an amazing offering to the community.
Topfallout on Thingiverse has a Nuka Cola Cappy Glasses .stl file. I downloaded that and sent it to the library for printing. This print does not line up the hinges on the side of the glasses well so I spent a bit of time sanding them down to fit together as I wanted to be able to collapse them for easier storage. I purchased recommended 3mm grub screws for the hinges, but there was no way they would fit. I resorted to using jewelry wire and creating the hinge with that, which was thin enough and worked perfectly.
For the lenses I purchased polarized film sheets and cut them into circles with my Cricut. I print then cut Cappy out on printable sticker paper and the little “Cappy” words on regular vinyl. The build has tabs for the lenses to sit on, so I used my fun liquid super glue again and mushed it all together.
Nuka Cola Lunchbox
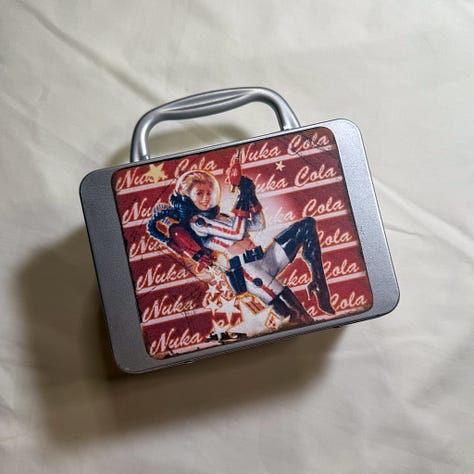
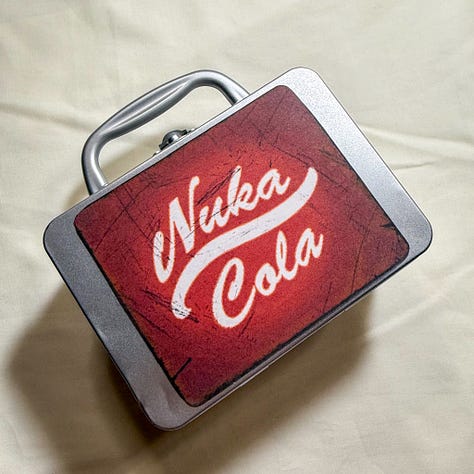
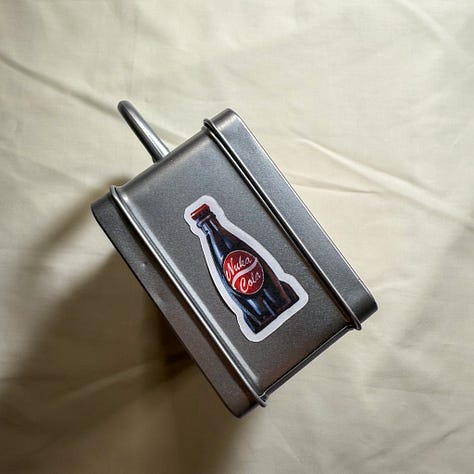
I didn’t want to drop $25.00 on the official lunchbox (which isn’t even exactly the one in the game!), so off to Goodwill I went to find one to paint. I found a mini Batman box which was perfect.
First I spray painted the entire box with metallic aluminum spray paint to cover the images. I pulled the actual images of the lunch box from the Fallout 4 game files and printed them both sides and the little Nuka Cola bottle sides on printable sticker paper which was then cut with my Cricut. Pasted everything together and sprayed with a coat of polyurethane.
I noticed the paint is still chipping even after the top coast, which means I most likely should have scuff-sanded the box before painting.
Nuka Cola Caps
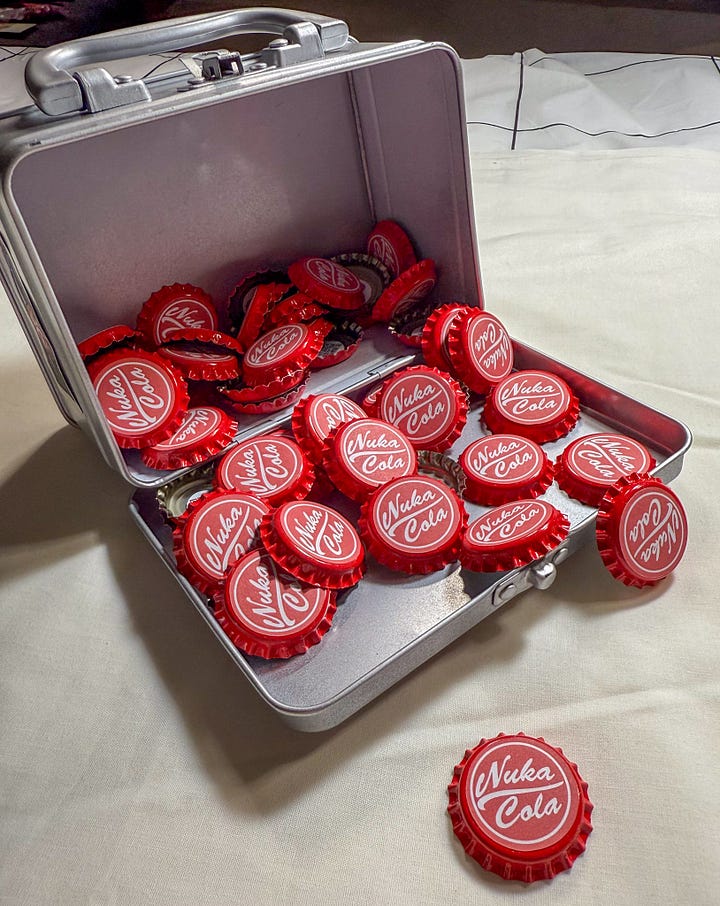
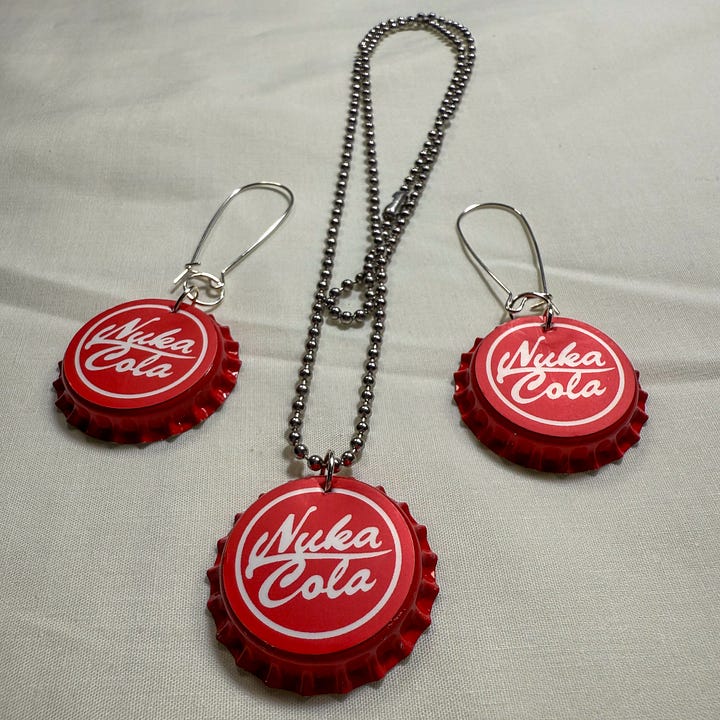
I already knew I wanted Nuka Cola bottle cap earrings and a necklace; I imagined pre-war everyone having tons of caps and not knowing what to do with them, using them for crafts, jewelry, etc. like we do today.
I purchased the caps from North Mountain Supply and they were a perfect red. I first tried just printing the white circle and logo out but the image was a little small to have a clean print. So I resorted to using the printable sticker paper to print the entire logo which was then cut with my Cricut. To make the jewelry, I used a nail and a hammer to punch a hole in the face and attached silver jump rings to hang them off of the necklace chain and earring wires.
The bag came with 250 caps… so I thought it would be a fun thing to make more to hand out to other Fallout fans during our convention. And if you’re here because you have one, hello!
Nuka World Drawstring Bags
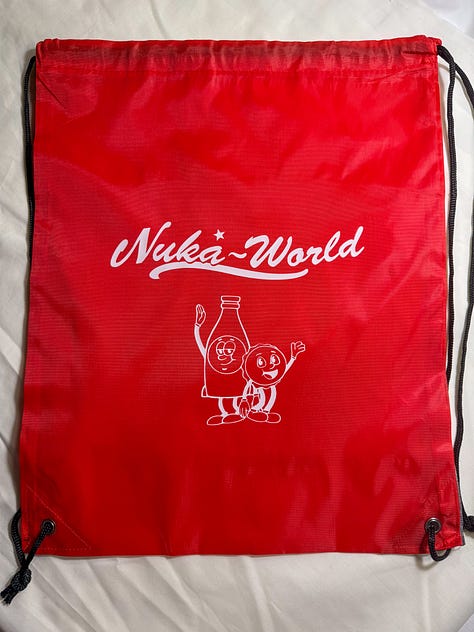
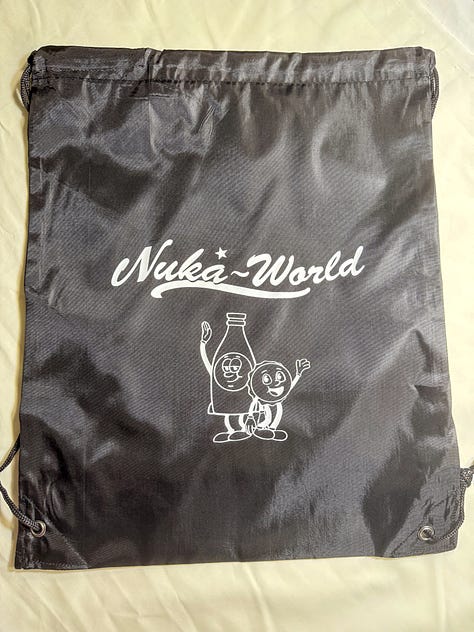
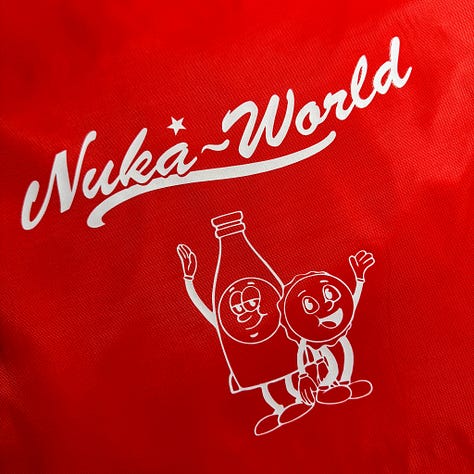
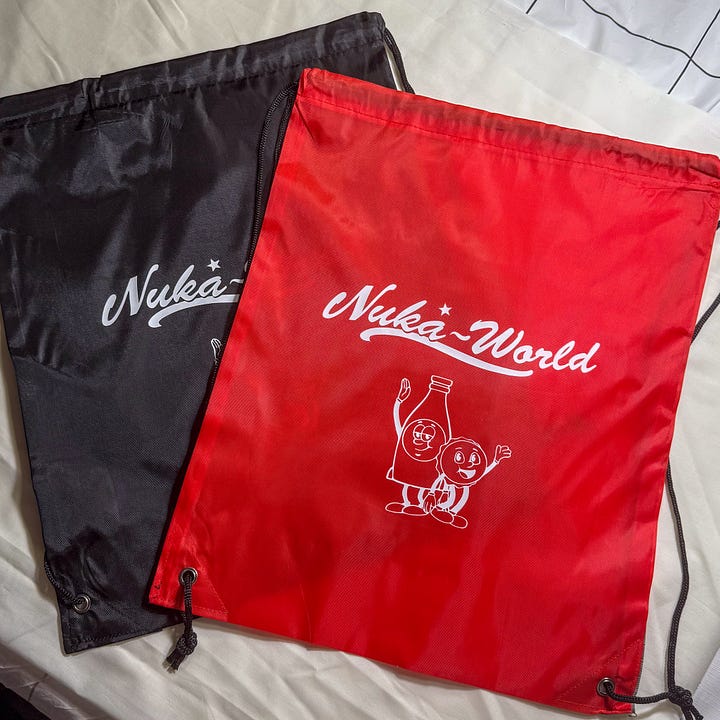
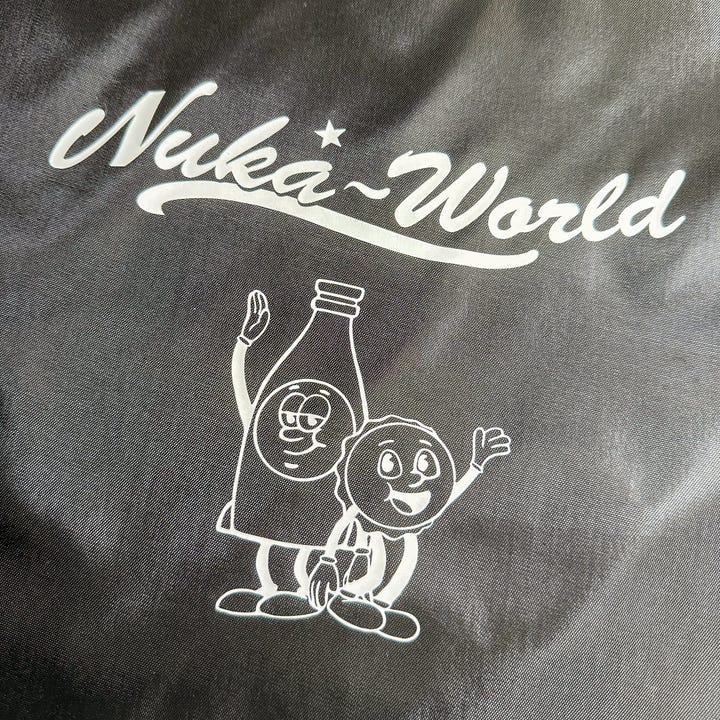
We had to have something to carry all these props in!
The drawstring backpacks were a great option since they’re lightweight, cheap, and made of polyester so they can take heat transfer vinyl. I created the vectors for both the Nuka World logo and Bottle and Cappy, cut them out of heat transfer vinyl with my Cricut, and was very satisfied with the result.
Nuka World Map
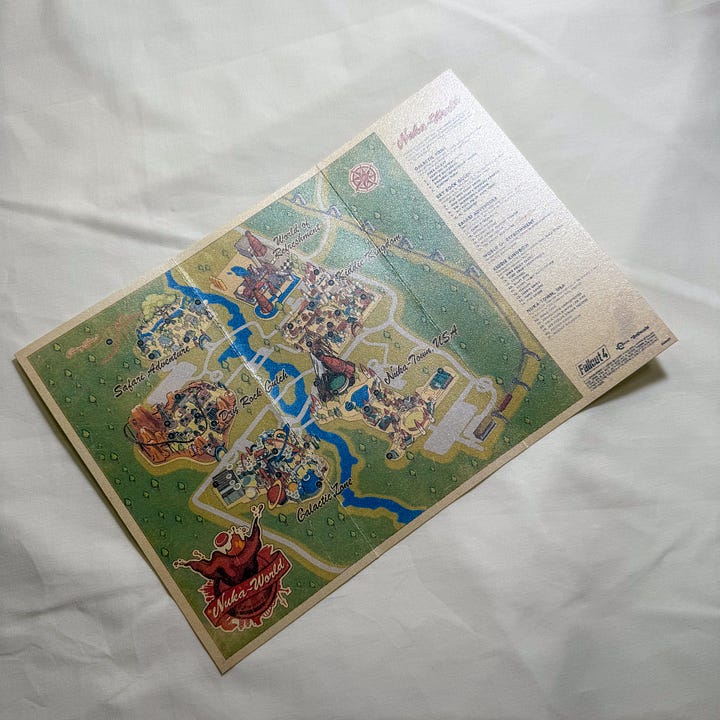
And finally, the map. Bethesda apparently gave real versions of this away during the release of the DLC, and for those of us poor souls who couldn’t get one (or didn’t even know it happened…) they also uploaded a PDF version online.
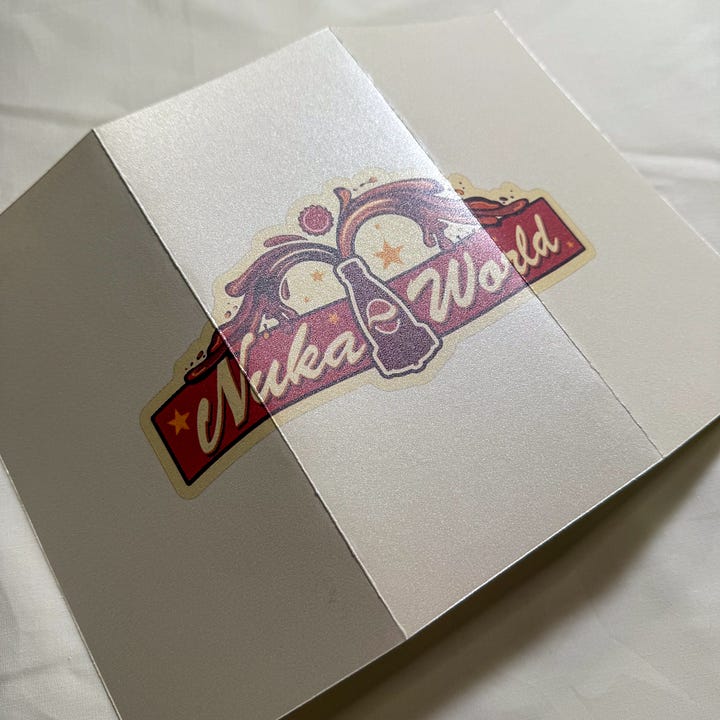
I printed this out on some heavier, sparkly cardstock I had on hand and printed the Nuka World logo (from the Fallout Wiki) on it’s reverse.
And that’s it! You think that was enough? Haha.
Thanks for looking through this post and if it helped you to create your own version of a Nuka World tourist, please let me know!
If you have any more questions about how something was made don’t hesitate to reach out.


